So I found a couple of ideas on pinterest that I liked. These are from Little Page Turners & Teach.Craft.Love.

What I love about this project is that I only had to buy one thing...everything else I had! Here's what I scrounged up or bought - an old wreath, some fabric scraps leftover from other projects and some simple 4" house numbers.

This was an old Christmas wreath that, like my last door wreath, had faded from the sun and weather. So I removed all the berries, leaves & pine cones, leaving a basic grapevine wreath. (I made that sound easy, but it definitely required the use of some wire cutters...they were not messing around when they put this together!) I also remove a couple of the brown wires that were holding the wreath together, so it looked a little better.

Next, I made some fabric flowers. I'll show you how, but if you still don't get it, check out Little Birdie Secrets - this is where I learned how and she has a video tutorial if the pictures aren't making enough sense.
Start with a 1" strip of fabric. Depending on how long it is will determine how big your flower turns out.

Fold it in half lengthwise.

Tie a knot in the end.

Fold the short end of the knot back towards the long end and start wrapping and twisting the long end in a coil. You can play with this to see what works, but I found that one twist for every 1/4-1/3 of a revolution was good. So at the beginning you are twisting more often, but as the flower gets bigger, there is more distance between the twists. This is good as it will help it stay together.

The tutorial I mentioned used a LOT of glue, she said every 1/4-1/2 revolution to use a spot of glue. I didn't find this to be necessary, but I also wasn't using shiny or slippery fabrics. So do what works. If I noticed the flower starting to slip and come apart, I added glue to keep it together. I used Aleene's Fabric Fusion and it worked well. (As a side note, its a good thing that it's non-toxic because I got more than I ever hoped for in my mouth! I kept taking the cap off with my teeth because my hands were full - flower in one hand, bottle in the other...when I went to put the cap, which was between my teeth, back on...I missed. More than once. Gross!)

When you get to the end, you have two choices. If this flower is as big as you want it, skip the next step and glue it in place. If not, you can work in another piece of fabric to make the flower larger.

Put a bit of glue about 2 inches from the end so you can let go of the flower without it falling apart. Then take a second strip that is the same size and lay it inside the first strip and fold them together. The first fabric should be on top. You may need to glue them together.

Then, continue to twist the fabric together until the flower is done. Secure the end with glue. You may want to stick a straight pin in it to hold it together until the glue dries.

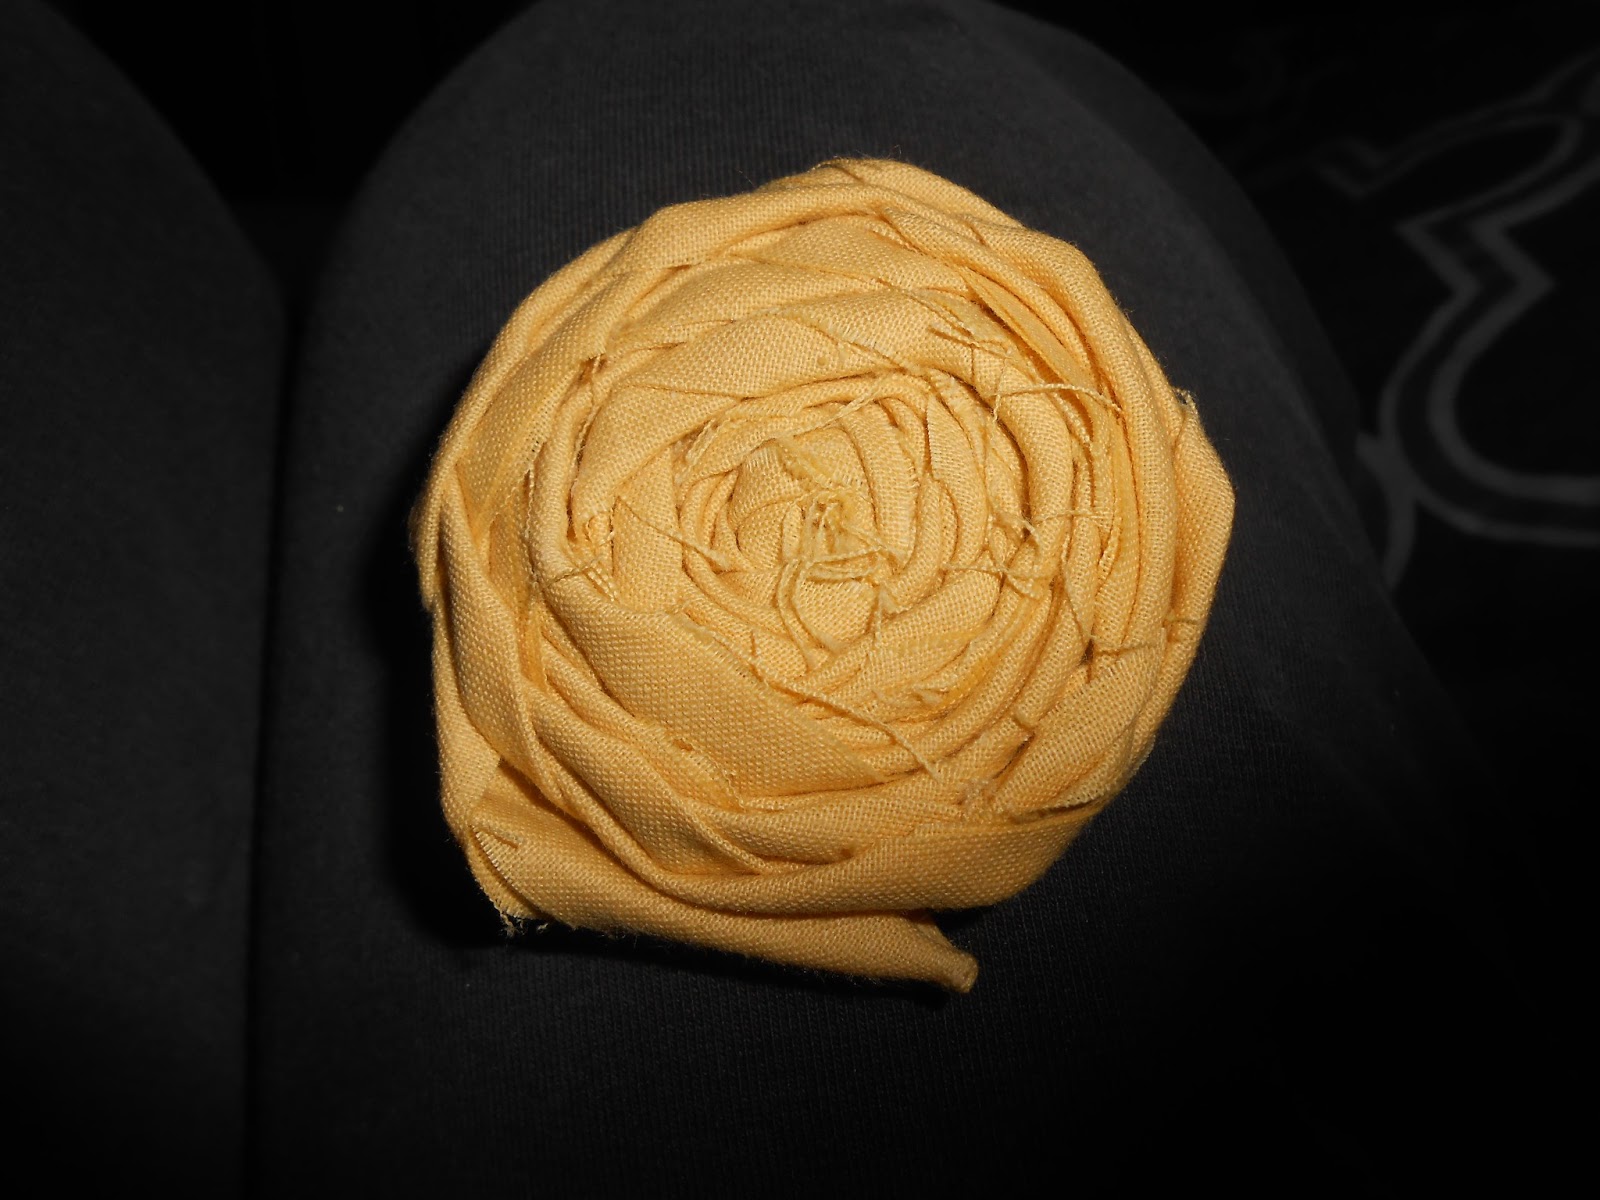
Tada! A fabric rose! Well, one anyways...you will need many...
I made a total of 13 flowers...always use odd numbers.

Starting with the large flowers, I hot glued them onto the grapevine wreath.
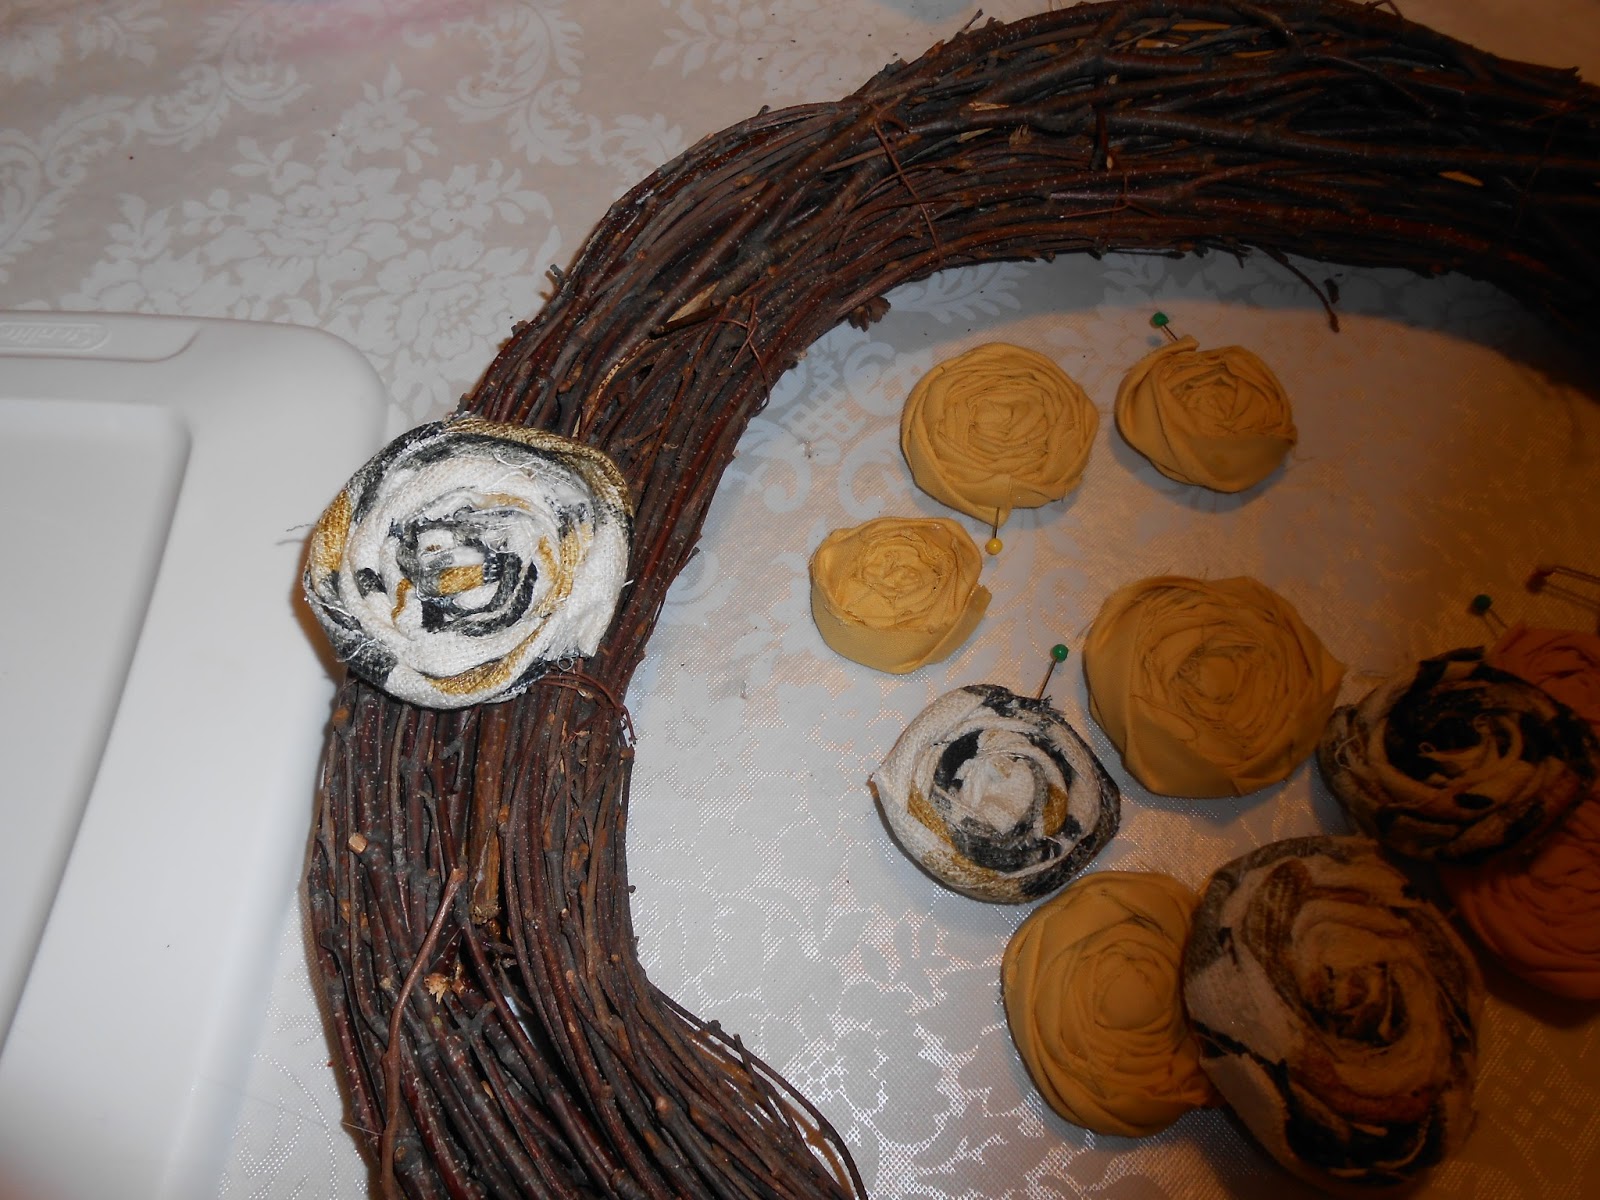
I alternated the two colors and made it so the smaller ones were at the end. It's more "natural" looking that way, as that's how flowers grow :).

Then I laid the house numbers on the wreath. On another side note, cut out wooden numbers are ridiculously hard to find! I went to two craft stores and only found 3 options...one was too big, the others too small. Letters come in every size and font you could imagine, but none of them had matching numbers...does that seem weird to you?? Anybody know of a good place to buy them? I ended up with metal house numbers from the hardware store, which worked great...and truth be told are probably more durable. I just thought it was weird how hard it was to find wooden numbers.

So, since the black numbers didn't stand out against the brown wreath, I spray painted them. I started with a yellow paint, that I knew would be way to bright...but it was a good start.

I went back over the numbers lightly with gray spray paint. It gave it more of a speckled appearance when you look up close. From far away, it just toned the color down.

These were ridiculously difficult to get to stay on the wreath...I have no idea why. The bottom two was first and went on easily. The rest were a pain - literally - I burnt myself multiple times with the hot glue gun! But eventually I got them to stay.
I also added some little sparkly gems to the middle of the yellow flowers...who doesn't love a little bling? And they were left over from another project...maybe I'll tell you about that project sometime...its a good story :)

A view of the front door with the new wreath. I'm thinking about painting this door, but think if I do that I will have to paint the rest of the trim on the house. Not a project I want to tackle - at least not in March.

Total cost of this project? $6! I had everything except the numbers. And, just so there is no confusion...2002 is my address. I made a wreath for Christmas that had numbers on it and everyone thought I put the wrong year on the wreath...including my roommate....
Be sure and comment and let me know what you think. And help us spread the word about our blog. You can follow us here, share this post on Facebook or pin it to Pinterest! We appreciate the help!
Grace and love,
Jenn

Looks great! Glad you make the comment on the 2002 as I was one who was confused at first regarding the aforementioned Christmas wreath. Also, wiring the numbers on may have been simpler, especially since they already have holes in them.
ReplyDeleteThanks...you were not alone in the confusion :) Like I said, even Allison, who lives here, had to ask...lol Good idea about wiring the numbers...Although I would have had to buy brown wire so it didn't show, and it might have been hard to put them exactly where I wanted them :/ I never would have imagined hot glue would be so difficult though...
DeleteHaving the numbers go vertically instead of horizontally helps with the year v. address confusion.
ReplyDelete