Wednesday, May 22, 2013

Contemporary Kitchen - Cheesy Smoked Sausage & Vegetable Soup


This recipe is completely my own. Long story made short, My niece was heading overseas and sent me the contents of her refrigerator vegetable drawer.  I had no idea what to do with all of those vegetables! Vegetables, mind you, that I had never or rarely used before.  A head of cabbage, cauliflower, broccoli, turnips, parsnips. OK, broccoli and cauliflower I could handle, but the rest had my head spinning.  I had made cabbage soup very early in my married life (remember hubby doesn't eat soup, or stew or anything of that sort), so I decided to just make some vegetable stock with most of it and make some California blend soup out of the rest... I had grown up with mom's California blend soup, granted I didn't have her recipe, but it seemed like something that I could do without a recipe.  So, I threw most of the veggies in the pot to make stock.   I had never even tasted turnips and parsnips before so I sampled a bit as I diced them.  I loved the parsnips, the turnips were just OK.  So then, using the completed stock as a base, I started on the soup.  As it was nearing completion, I said to myself, what is Hubby going to eat for dinner tonight, he won't eat this... What goes with cheese? Smoked Sausage (which I always have plenty of on hand). It smelled so good as it was cooking that I decided to add some to the soup for the rest of us, leaving Hubby's out so he could eat it separately.  At one point he walked by, said it smelled good and that he would eat the soup, so I tossed the rest of the sausage in.   Needless to say, it was such a hit that Hubby at two...yes, TWO bowls of soup! I was floored! Having just thrown things in the pot, I attempted to recreate it a few months later, so I could write the recipe down, I also played with the technique and which I will discuss in the directions.   So, without further ado, here is the recipe.

I usually have just about everything for this recipe in my pantry or freezer.


Saute onion, celery, carrot and parsnip in a large pot or dutch oven until it starts to become tender.  Just an aside, I keep a lot of veggies in my freezer, for example, if I dice 1/2 an onion for hot dogs, or slice 1/2 an onion for burgers, I dice or slice or chunk up the rest, measure it and vacuum seal it, label it and throw it in the freezer for future use, mostly in soups, although the onions I do saute for just about everything. Same for carrots an celery.


Add the stock and simmer.  Add salt, bay leaves, thyme and rosemary.  Simmer 10 minutes.


Add the Broccoli (and Cauliflower if desired).


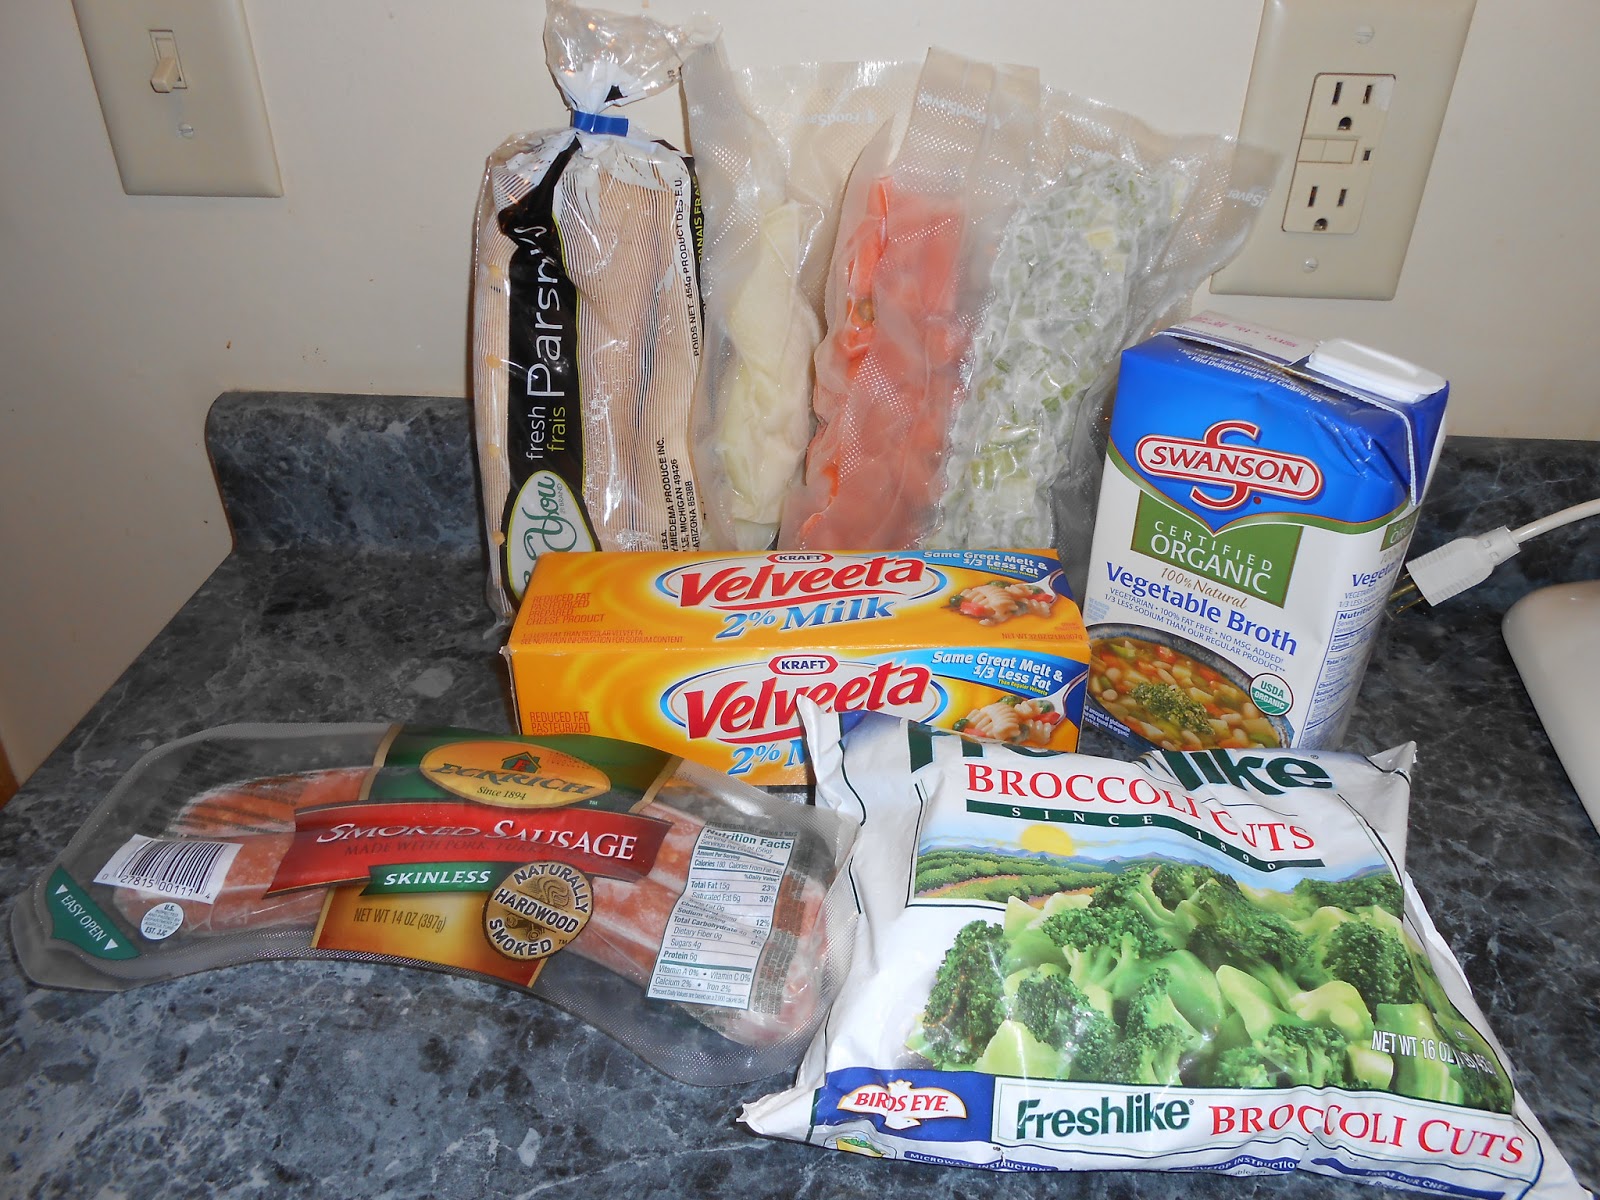
Cut the smoked sausage into bite sized pieces and saute in a frying pan.  You really do need to fry the sausage first. The second time I made this I tried  just tossing the sausage in the soup without frying it first and the flavor just wasn't there, the flavor seemed to boil right out of the meat. When browned, remove to paper towel to drain.


When the vegetables are tender, Add the Velveeta (remember, this recipe uses 1 lb of Velveeta, which is 1/2 of the loaf).  Dice it into large chunks and toss it in, stir frequently to help it melt.


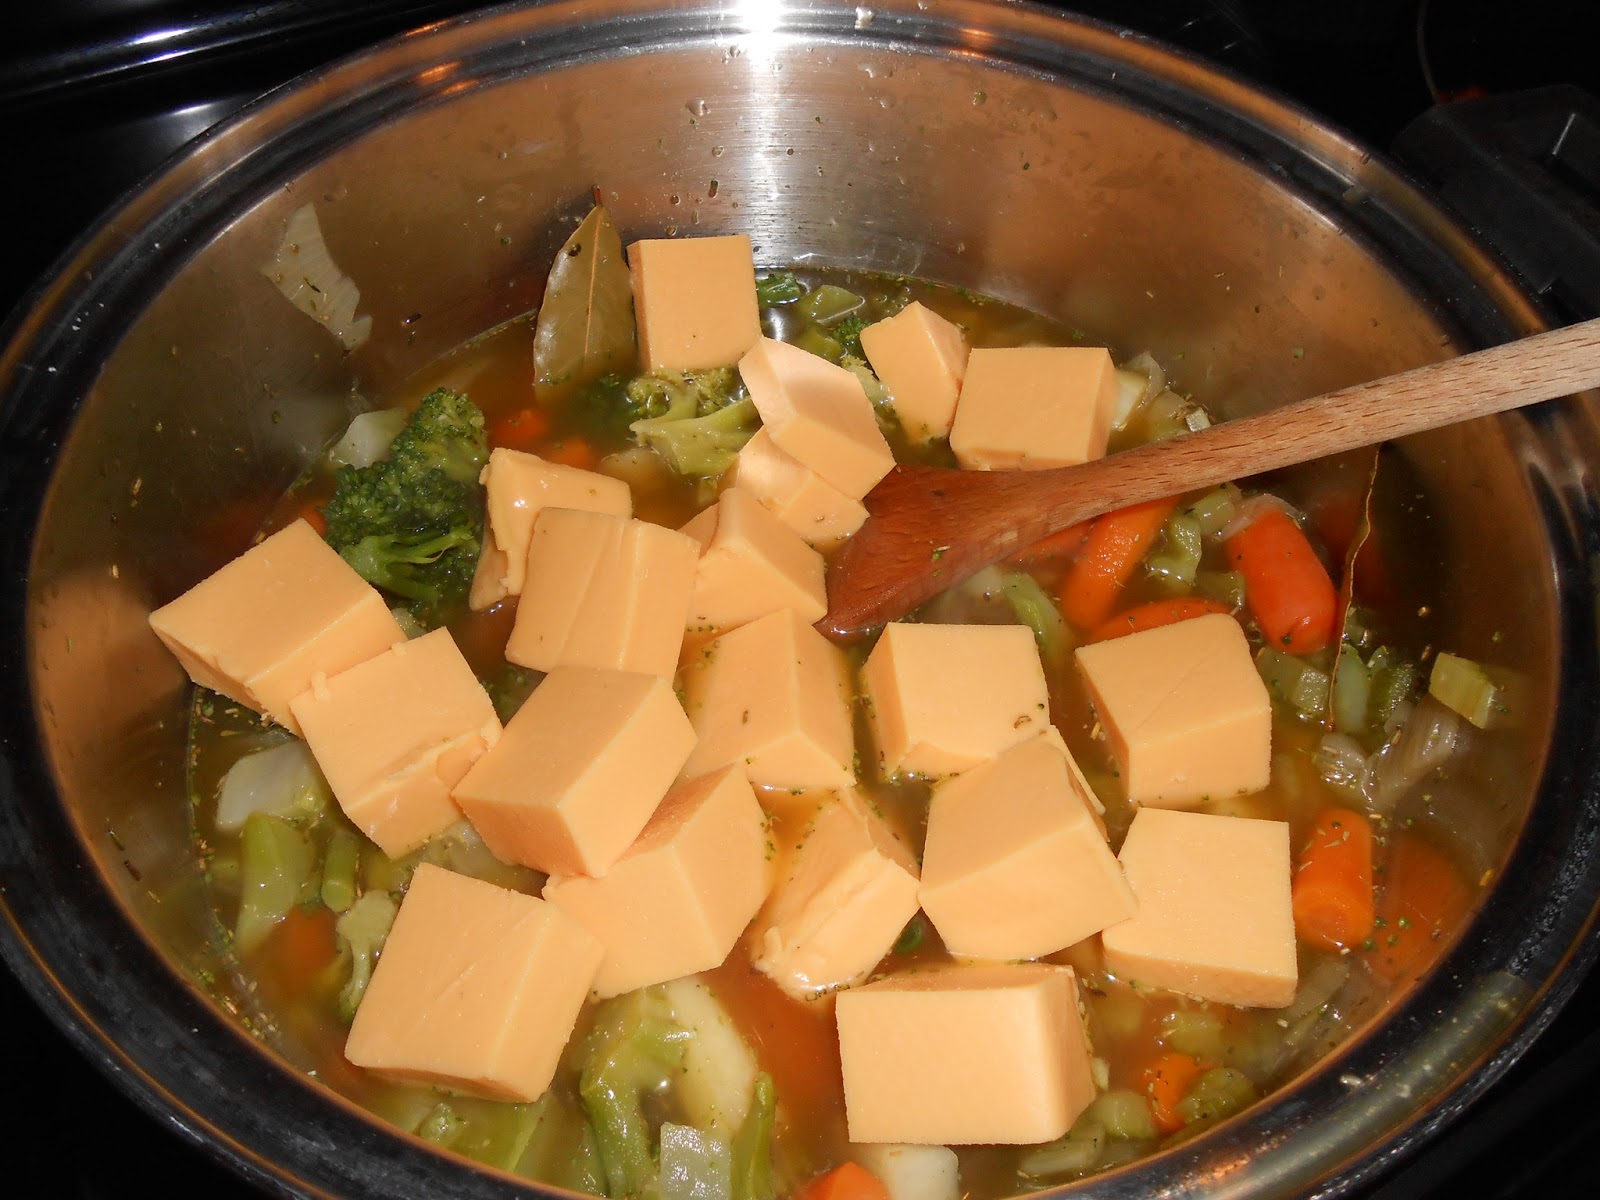
 Once the cheese is melted, add sausage and allow to simmer for 10 minutes for the flavors to meld. Remove the bay leaves and serve.


I hope you enjoy this recipe.  Please be sure to comment and let me know what you think and/or if you try it!

Love and God's peace to you,
Christine

Tuesday, April 23, 2013

Contemporary Kitchen - Real Amish Cinnamon Bread

Last week, I posted the knock off version of Amish Cinnamon Bread...today, the real thing!

You may have heard of this recipe before, perhaps you've even tried it.  There are two major complaints that people often have about this bread starter.  First is that you have to maintain it, which includes adding ingredients on certain days and mushing the bag contents together each day.  The second complaint, and often the biggest is that every ten days you have 3-4 bags of starter to get rid of.

In my opinion, maintaining the starter is not that big of a deal.  My concern is more that the bread has to be baked on specific days, and not necessarily on the days when I want it.  I'm researching ideas of how to manipulate that...but so far, I haven't figured it out.

And as for the hassle of getting rid of the starter every ten days, I followed the advice of Make It From Scratch and put it on a diet.  In essence, just cut back the ingredient quantities you add so the starter doesn't get as big.  This gives me one starter to keep going, and enough to bake 2 loaves of bread.  So far, its working great!

So, here's the recipe to maintain the starter.

Day 1 - Receive the bag, mush the bag.
Day 2 - Mush the bag.
Day 3 - Mush the bag.
Day 4 - Mush the bag.
Day 5 - Mush the bag.
Day 6 - Add 1 1/2 cups flour, sugar and milk.
Day 7 - Mush the bag.
Day 8 - Mush the bag.
Day 9 - Mush the bag.
Day 10 - Add 1 1/2 cups flour, sugar and milk.  Into 4 gallon sized Ziploc bags, pour 1 cup of starter.  Use the remaining starter to bake the bread.  Give away 3 starters and keep one for yourself.  This becomes Day 1 to start over.

So to put the starter on a diet, I only add 1/2 cup of each of the ingredients on both days 6 & 10.

Now, onto the good stuff...baking the bread!

Preheat the oven to 325°.  Pour the remaining batter into a bowl.  They make a really big deal about not using any metallic bowls or spoons with these recipes.  Who knows if its really as important as they say, but I used a glass bowl and plastic spatula, just in case.


Add 3 eggs, 1 cup of oil, 1/2 cup of milk, 1 cup sugar, 1 tsp cinnamon, 1/2 tsp vanilla, 1 1/2 tsp baking powder, 1/2 tsp baking soda and 1/2 tsp salt and stir together.


Also add 2 cups of flour and 1 large box instant vanilla pudding.  There is no special order here, but I add everything except the flour and pudding and mix together first to make it a little easier.


The batter may be slightly lumpy, because you're mixing with a spatula...it doesn't seem to matter in the final product.


Grease two loaf pans.  Alternately, this can be used to make muffins as well.


In a separate bowl, mix together 1/2 cup sugar and 1 1/2 tsp cinnamon.  I actually think this is more than you need, so I just use my regular cinnamon/sugar mixture that I use for toast so I don't have so much extra.


Dust the pans with this mixture (these are liberally dusted because I knew I would have so much).


Pour the batter into the loaf pans.


And top with remaining cinnamon/sugar mixture.  The first time I thought the extra would be fine because it would absorb into the bread while it baked or melt and get caramelly...it doesn't.


The finished product!  (see what I mean about the extra cinnamon sugar?)


So the real question...is it worth all the extra effort?

This stuff is good...really good!  And one nice thing about the starter is that it forces me to bake once a week or so, which has pros and cons.  But to be honest, the other bread is really just as good.  So if you don't want the hassle, it's a good option.

I'm probably going to play with this for a while and try some variations.  Just google Amish Friendship Bread and you will see that there are tons of different things to do with the starter.  On my list are using chocolate pudding & chocolate chips, using banana cream pudding & fresh bananas and turning it into sourdough.  So, stick around because I'm sure I'll post those as well.

When I get bored with this, I may switch to a regular sourdough starter, just to see if I like it.  I have a friend who has one that is sort of famous, so when I can get my hands on it, I'll let you know.

In the meantime, if you want a starter of this, I'd be happy to grow mine a little fatter and share with you!  (assuming of course that you live near me :)


Grace and love,
Jenn


Wednesday, April 17, 2013

Sweet Christine's favorites - Irish Car Bomb Cupcakes


Another new series here... Recipes from my business Sweet Christine's Specialty Cakes & Desserts.   I'm currently operating under the Michigan Cottage Foods Laws, and cannot sell this item until I get a liquor license, which I am in the process of doing, but they are so good that I just have to share this recipe with you. I had originally planned to bake these for St. Patrick's Day, but had so much going on at the time that I wasn't able to do it. So I made them a few weeks later for my birthday and, my oh my.... they weren't kidding when they called these the BOMB! If you love dark chocolate, this is the cake for you... if you like Bailey's Irish Creme, you won't be disappointed either. This recipe came from Pinterest and I have noted my changes... Here is the link to the original recipe on Brown Eyed Baker.

The premise behind this cupcake is the drink with the same name in which you put 3/4 pint of Guinness in a glass, put 1/2 shot of Baileys Irish Creme in the bottom of a shot glass and 1/2 shot of Jamesons Irish Whiskey in the top of the shot glass. You then drop the shot glass into the Guinness and drink it... the faster the better to keep the beer from curdling. I think the cupcakes sound much more appetizing.

Photo courtesy of browneyedbaker.com


The Cupcakes....
In a heavy saucepan, over medium heat, combine the Guinness and butter and bring to a simmer.


Add the cocoa powder and whisk until the mixture is smooth. Cool slightly.


A note on cocoa powder.  The original recipe calls for dutch process cocoa... impossible to find in my neck of the woods, the best I could do was Hershey's Special Dark which is a combination of Dutch Process and Natural Cocoa. I also could not find bittersweet chocolate... I guess that comes from living in the sticks 'cause I know it is out there, but I used dark chocolate chips and I liked the results so much that I've rewritten the recipe using the above mentioned ingredients.


Next, whisk the flour, sugar, baking soda and salt in a large bowl to combine. Using an electric mixer, beat the eggs and sour cream on medium speed until combined.


Add the Guinness-chocolate mixture to the egg mixture and beat just to combine.


Reduce the speed to low, add the flour mixture and beat briefly. Using a rubber spatula, fold the batter until completely combined.

 Divide the batter among the cupcake liners. I used a "Texas Muffin" sized pan.

Filling the Texas Muffin cups takes two large (3Tbs) Scoops.
Bake until a toothpick or cake tester inserted into the center comes out clean, about 17 minutes for regular size, I think I baked the large ones for 20 minutes, but I didn't write it down, so be sure to test at 17 minutes. Cool the cupcakes on a rack.


Dark Chocolate Jamesons Ganache Filling:
Put the chocolate chips in a heat proof bowl. Heat the cream until simmering and pour it over the chocolate.


Let it sit for one minute and then, using a rubber spatula, stir it from the center outward until smooth. Add the butter and whiskey and stir until combined.


Let the ganache cool until thick but still soft enough to be piped. (Next time, I will let it thicken just a tad more than this, which was about pudding consistency)


Next, we will fill the cupcakes.  I bought this handy little cupcake corer, but you could also use a large decorator tip or a 1" round cookie cutter.


If you don't have a cake decorating tools, you can pick up the above cupcake decorating set at Walmart or any other craft type store.  It comes with a few basic tips and even some disposable decorator bags.  I bought it for the bismark (used to fill jelly donuts etc) tip.

Cut the centers out of the cupcakes (be sure to save the centers... I'll show you why at the end... but really, who throws away cake?)

Fit your decorator (piping) bag with a large round tip. I used the size 12 tip that came in the cupcake kit. Fill your decorator bag, about 1/2 full with ganache. If you are new to filling piping bags, be sure to fold the top over, it gives you a place to hold, and keeps the outside from getting messy. Shake the bag so the filling falls to the bottom, unfold the top, and twist above the filling/icing. You will hold the bag where the twist is, placing it between your thumb and first finger.

fold the top of your piping bag over, and place your hand under the fold to fill.


shake the filling to the bottom of the bag and unfold the top.
twist above the filling and place the bag between your thumb and first finger. 
Next, fill the cupcakes to the top of the cake.

Fill the center with ganache; all the way to the top.


Now we will make the Baileys buttercream... and it is oh so good!
Using the whisk attachment of a stand mixer, whip the butter on medium high for 5 minutes, scraping down the sides of the bowl occasionally.  Reduce the speed to medium low and gradually (I used a 2Tbs scoop) add the powdered sugar until it is all incorporated.


Add the Baileys, increase the speed to medium high and whip for another 2-3 minutes,  until the frosting is light and fluffy.


Using your favorite decorating tip, or an offset spatula, frost the cupcakes and decorate with sprinkles if desired. Store in a covered container.


I was able to locate these two bottles of sprinkles at Walmart that I felt were appropriate for St. Patricks day.  I think the gold looked better, but was a little gritty when eating the cake.


The finished product... Yum!


Now, what to do with those yummy cake scraps... Toss a few in a small pudding bowl, add some ganache, add some more cake etc. Fill in around the cake with ganache, then top it with some icing... and enjoy. You worked hard, you deserve a treat without breaking into your masterpieces...


I hope you enjoy this recipe. Please don't wait until St. Patrick's day to try them out. Please be sure to comment and let me know what you think and/or if you try it!

Love and God's peace to you,
Christine