Showing posts with label Recipes. Show all posts

Wednesday, April 17, 2013

Sweet Christine's favorites - Irish Car Bomb Cupcakes


Another new series here... Recipes from my business Sweet Christine's Specialty Cakes & Desserts.   I'm currently operating under the Michigan Cottage Foods Laws, and cannot sell this item until I get a liquor license, which I am in the process of doing, but they are so good that I just have to share this recipe with you. I had originally planned to bake these for St. Patrick's Day, but had so much going on at the time that I wasn't able to do it. So I made them a few weeks later for my birthday and, my oh my.... they weren't kidding when they called these the BOMB! If you love dark chocolate, this is the cake for you... if you like Bailey's Irish Creme, you won't be disappointed either. This recipe came from Pinterest and I have noted my changes... Here is the link to the original recipe on Brown Eyed Baker.

The premise behind this cupcake is the drink with the same name in which you put 3/4 pint of Guinness in a glass, put 1/2 shot of Baileys Irish Creme in the bottom of a shot glass and 1/2 shot of Jamesons Irish Whiskey in the top of the shot glass. You then drop the shot glass into the Guinness and drink it... the faster the better to keep the beer from curdling. I think the cupcakes sound much more appetizing.

Photo courtesy of browneyedbaker.com


The Cupcakes....
In a heavy saucepan, over medium heat, combine the Guinness and butter and bring to a simmer.


Add the cocoa powder and whisk until the mixture is smooth. Cool slightly.


A note on cocoa powder.  The original recipe calls for dutch process cocoa... impossible to find in my neck of the woods, the best I could do was Hershey's Special Dark which is a combination of Dutch Process and Natural Cocoa. I also could not find bittersweet chocolate... I guess that comes from living in the sticks 'cause I know it is out there, but I used dark chocolate chips and I liked the results so much that I've rewritten the recipe using the above mentioned ingredients.


Next, whisk the flour, sugar, baking soda and salt in a large bowl to combine. Using an electric mixer, beat the eggs and sour cream on medium speed until combined.


Add the Guinness-chocolate mixture to the egg mixture and beat just to combine.


Reduce the speed to low, add the flour mixture and beat briefly. Using a rubber spatula, fold the batter until completely combined.

 Divide the batter among the cupcake liners. I used a "Texas Muffin" sized pan.

Filling the Texas Muffin cups takes two large (3Tbs) Scoops.
Bake until a toothpick or cake tester inserted into the center comes out clean, about 17 minutes for regular size, I think I baked the large ones for 20 minutes, but I didn't write it down, so be sure to test at 17 minutes. Cool the cupcakes on a rack.


Dark Chocolate Jamesons Ganache Filling:
Put the chocolate chips in a heat proof bowl. Heat the cream until simmering and pour it over the chocolate.


Let it sit for one minute and then, using a rubber spatula, stir it from the center outward until smooth. Add the butter and whiskey and stir until combined.


Let the ganache cool until thick but still soft enough to be piped. (Next time, I will let it thicken just a tad more than this, which was about pudding consistency)


Next, we will fill the cupcakes.  I bought this handy little cupcake corer, but you could also use a large decorator tip or a 1" round cookie cutter.


If you don't have a cake decorating tools, you can pick up the above cupcake decorating set at Walmart or any other craft type store.  It comes with a few basic tips and even some disposable decorator bags.  I bought it for the bismark (used to fill jelly donuts etc) tip.

Cut the centers out of the cupcakes (be sure to save the centers... I'll show you why at the end... but really, who throws away cake?)

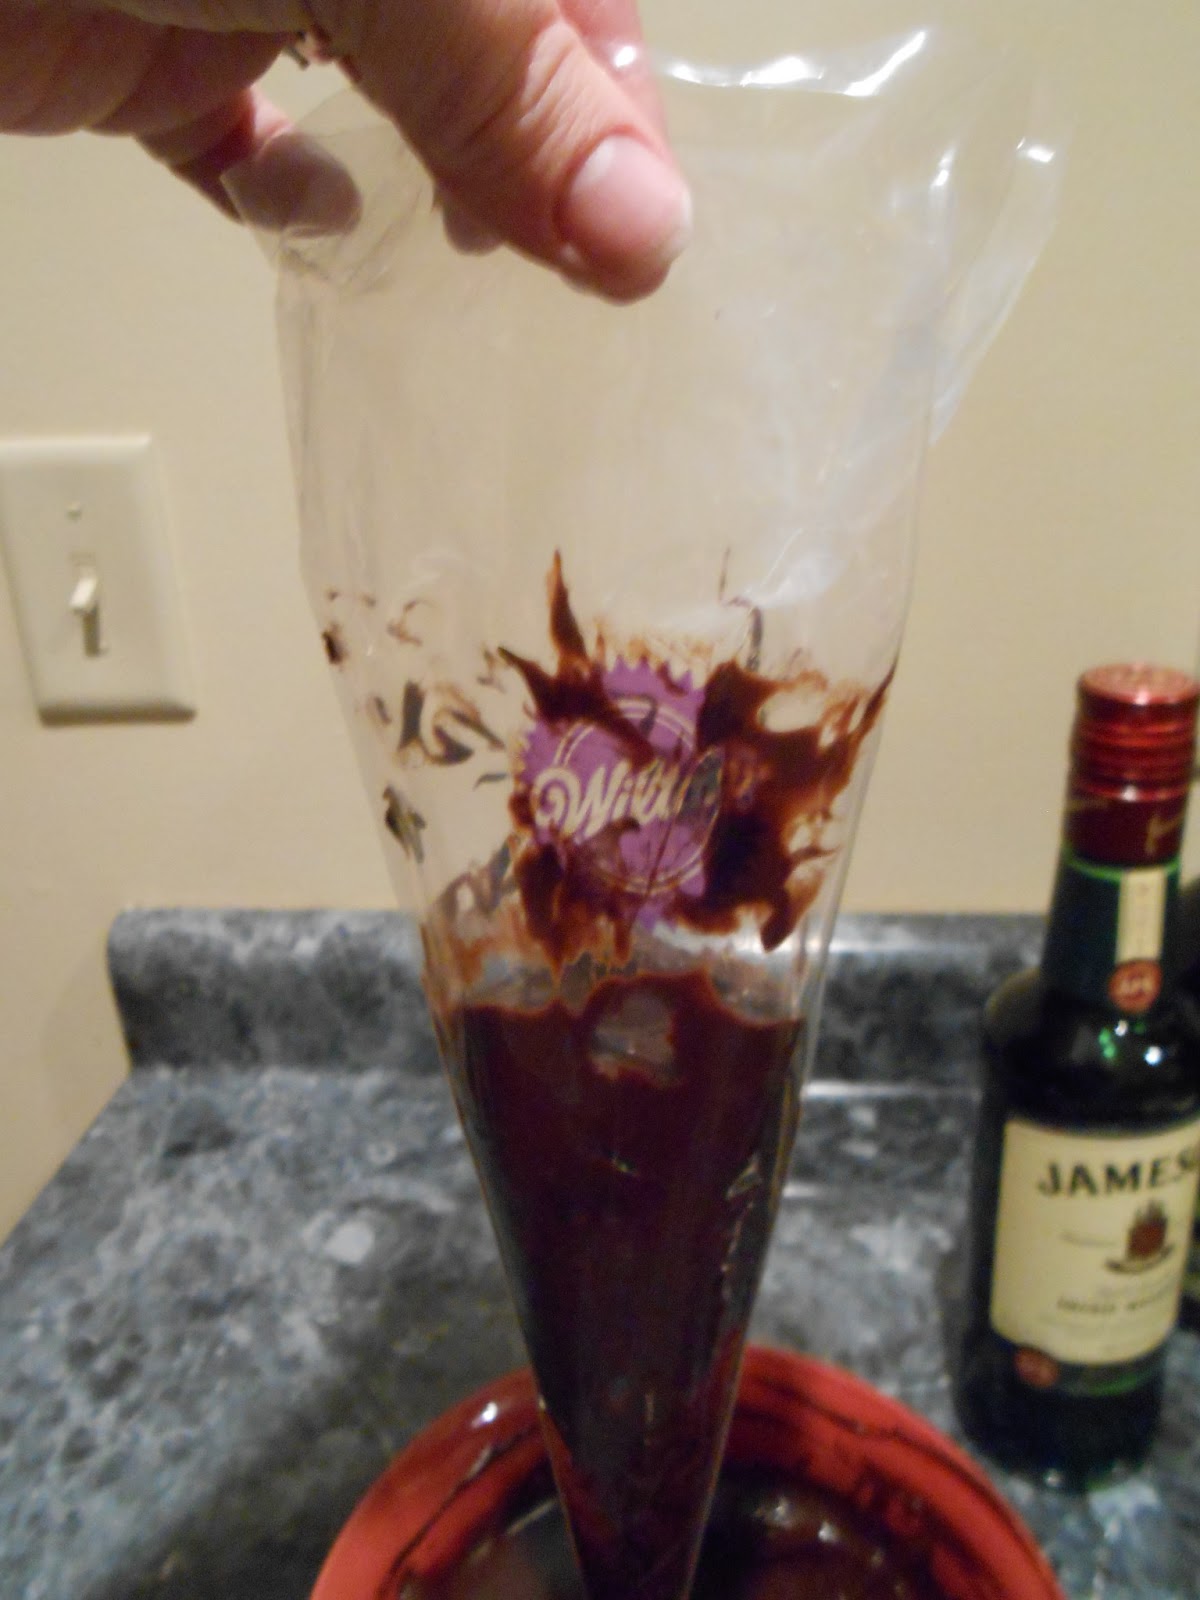
Fit your decorator (piping) bag with a large round tip. I used the size 12 tip that came in the cupcake kit. Fill your decorator bag, about 1/2 full with ganache. If you are new to filling piping bags, be sure to fold the top over, it gives you a place to hold, and keeps the outside from getting messy. Shake the bag so the filling falls to the bottom, unfold the top, and twist above the filling/icing. You will hold the bag where the twist is, placing it between your thumb and first finger.

fold the top of your piping bag over, and place your hand under the fold to fill.


shake the filling to the bottom of the bag and unfold the top.
twist above the filling and place the bag between your thumb and first finger. 
Next, fill the cupcakes to the top of the cake.

Fill the center with ganache; all the way to the top.


Now we will make the Baileys buttercream... and it is oh so good!
Using the whisk attachment of a stand mixer, whip the butter on medium high for 5 minutes, scraping down the sides of the bowl occasionally.  Reduce the speed to medium low and gradually (I used a 2Tbs scoop) add the powdered sugar until it is all incorporated.


Add the Baileys, increase the speed to medium high and whip for another 2-3 minutes,  until the frosting is light and fluffy.


Using your favorite decorating tip, or an offset spatula, frost the cupcakes and decorate with sprinkles if desired. Store in a covered container.


I was able to locate these two bottles of sprinkles at Walmart that I felt were appropriate for St. Patricks day.  I think the gold looked better, but was a little gritty when eating the cake.


The finished product... Yum!


Now, what to do with those yummy cake scraps... Toss a few in a small pudding bowl, add some ganache, add some more cake etc. Fill in around the cake with ganache, then top it with some icing... and enjoy. You worked hard, you deserve a treat without breaking into your masterpieces...


I hope you enjoy this recipe. Please don't wait until St. Patrick's day to try them out. Please be sure to comment and let me know what you think and/or if you try it!

Love and God's peace to you,
Christine

Friday, April 12, 2013

Contemporary Kitchen - Cinnamon Bread

A while ago, I pinned some knock-off "Amish Cinnamon Bread" on pinterest.  Basically just a quick bread version of the starter kind that gets passed around.  So, one Sunday morning, I needed to make something to take to lunch with friends, and this seemed easy with simple ingredients.  So I threw it together.  A-ma-zing!  Seriously, this stuff was really good!

So, it got me thinking.  Is it really as good as the Amish Friendship Bread that requires the waiting and bag mushing and all that??  So, I embarked on a very scientific, highly regulated study to see if this was all it claimed to be.  (Disclaimer: this study was neither scientific or regulated...)

So, today you get the knock-off version from Redfly Creations.

First, cream together butter, sugar and eggs.


Add milk (either use buttermilk, or regular milk plus 2 tsp lemon juice or vinegar), flour and baking soda and mix together.


So far, super simple!


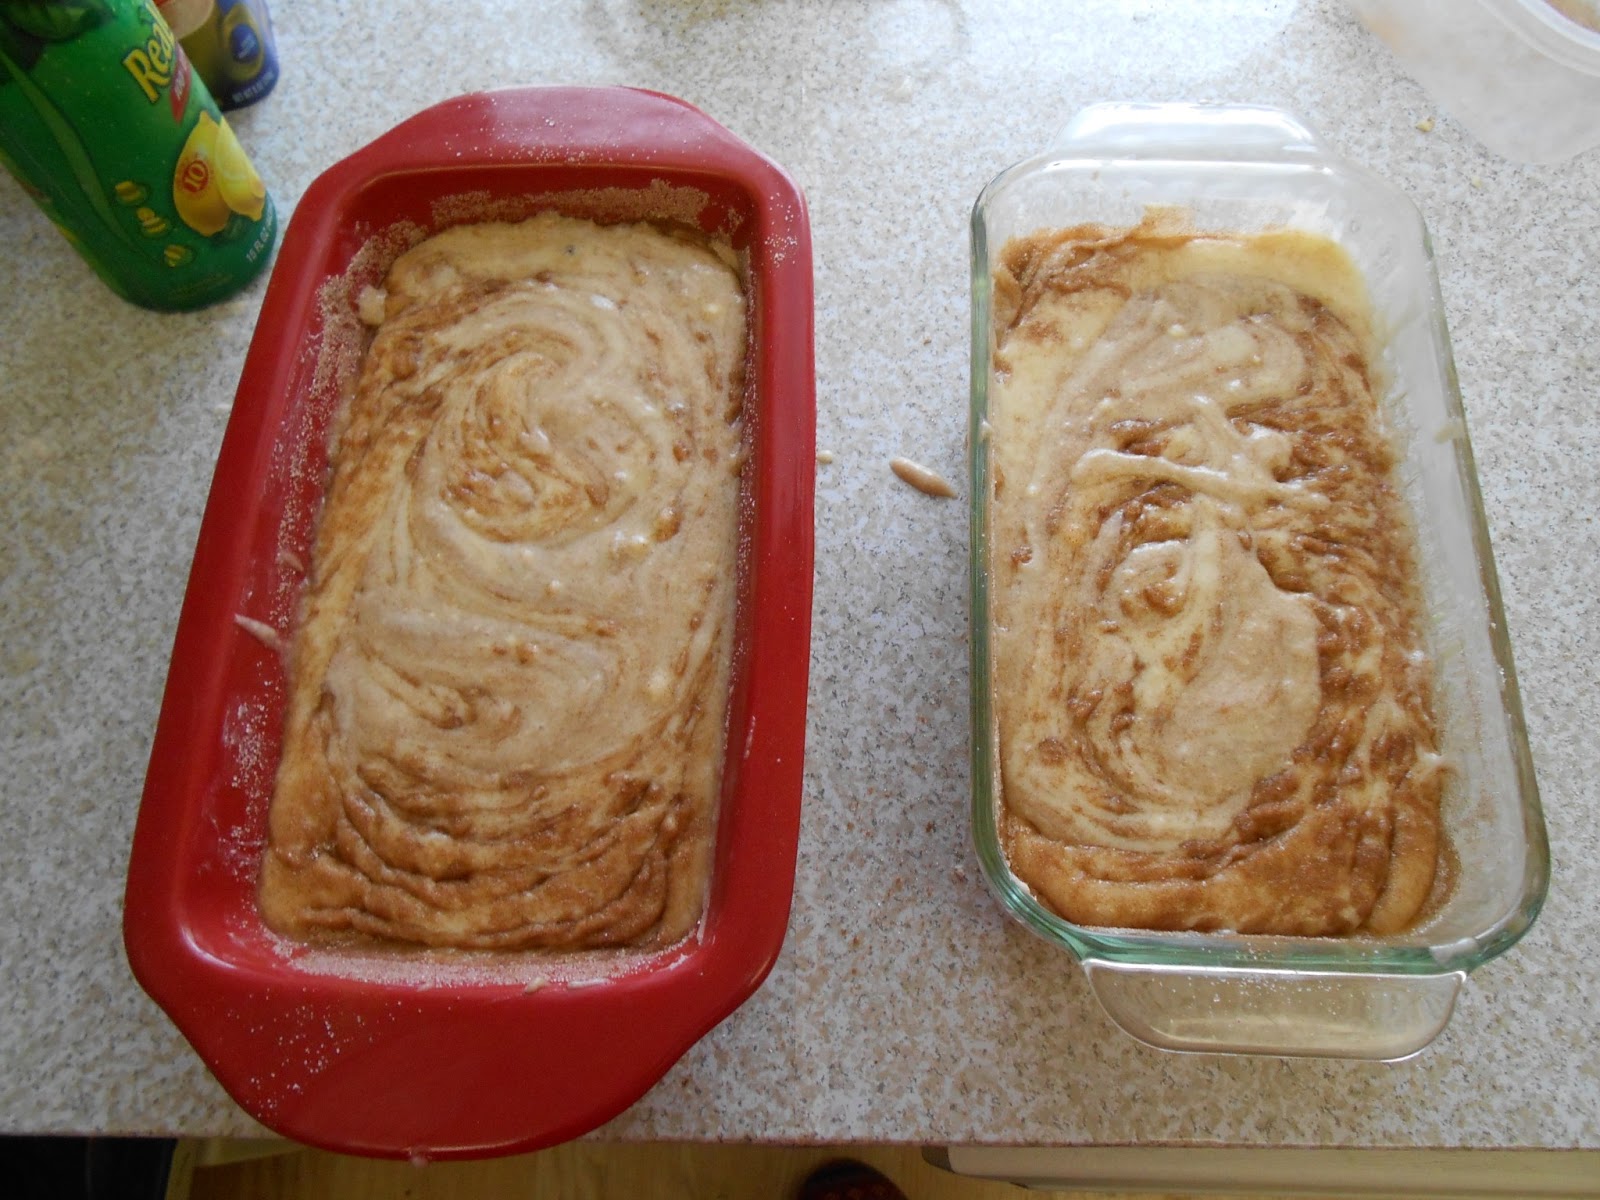
Divide the batter into two loaf pans.


Mix together sugar and cinnamon and sprinkle over top of batter.


Swirl the mixture into the batter with a knife.


Bake at 350° for 45-50 minutes, or until a toothpick comes out clean.

I forgot to take pictures of it when it was done, but take my word that it looked good...and like I said, it was delicious!


But, the question remains...is it really as good as the traditional Amish Friendship bread?  Stay tuned to find out...

Grace and love,
Jenn

Monday, April 8, 2013

Contemporary Kitchen - Mexican Fire Rice

This is another one of my go to recipes.  The ingredients are basic and almost always on hand and it makes great leftovers.  I've used a couple of different recipes for this, but the inspiration for this version is one I found on pinterest, from Southern Plate.

Of course, change number one is to take out the chicken and replace it with black beans.  The second change was to use quinoa (pronounced Keen-WAH) instead of rice.

So, we begin by cooking the quinoa.  Quinoa is easy to cook, especially if you buy it pre-rinsed.  It can be a little pricey to buy in the grocery store, as a small box can run you $5-6.  But you can get 4 lbs at Costco for $8 - the best deal I've found so far.


Combine 1 part quinoa and 2 parts water in a pan.  Bring it to a boil, then reduce the heat to low and cook for 15 minutes.  If there is any water left, drain it.


Return it to the pan and fluff with a fork.  Quinoa is a seed, and so when it is cooked it "sprouts".  And it has a sort of crunch to it, with a nutty flavor.


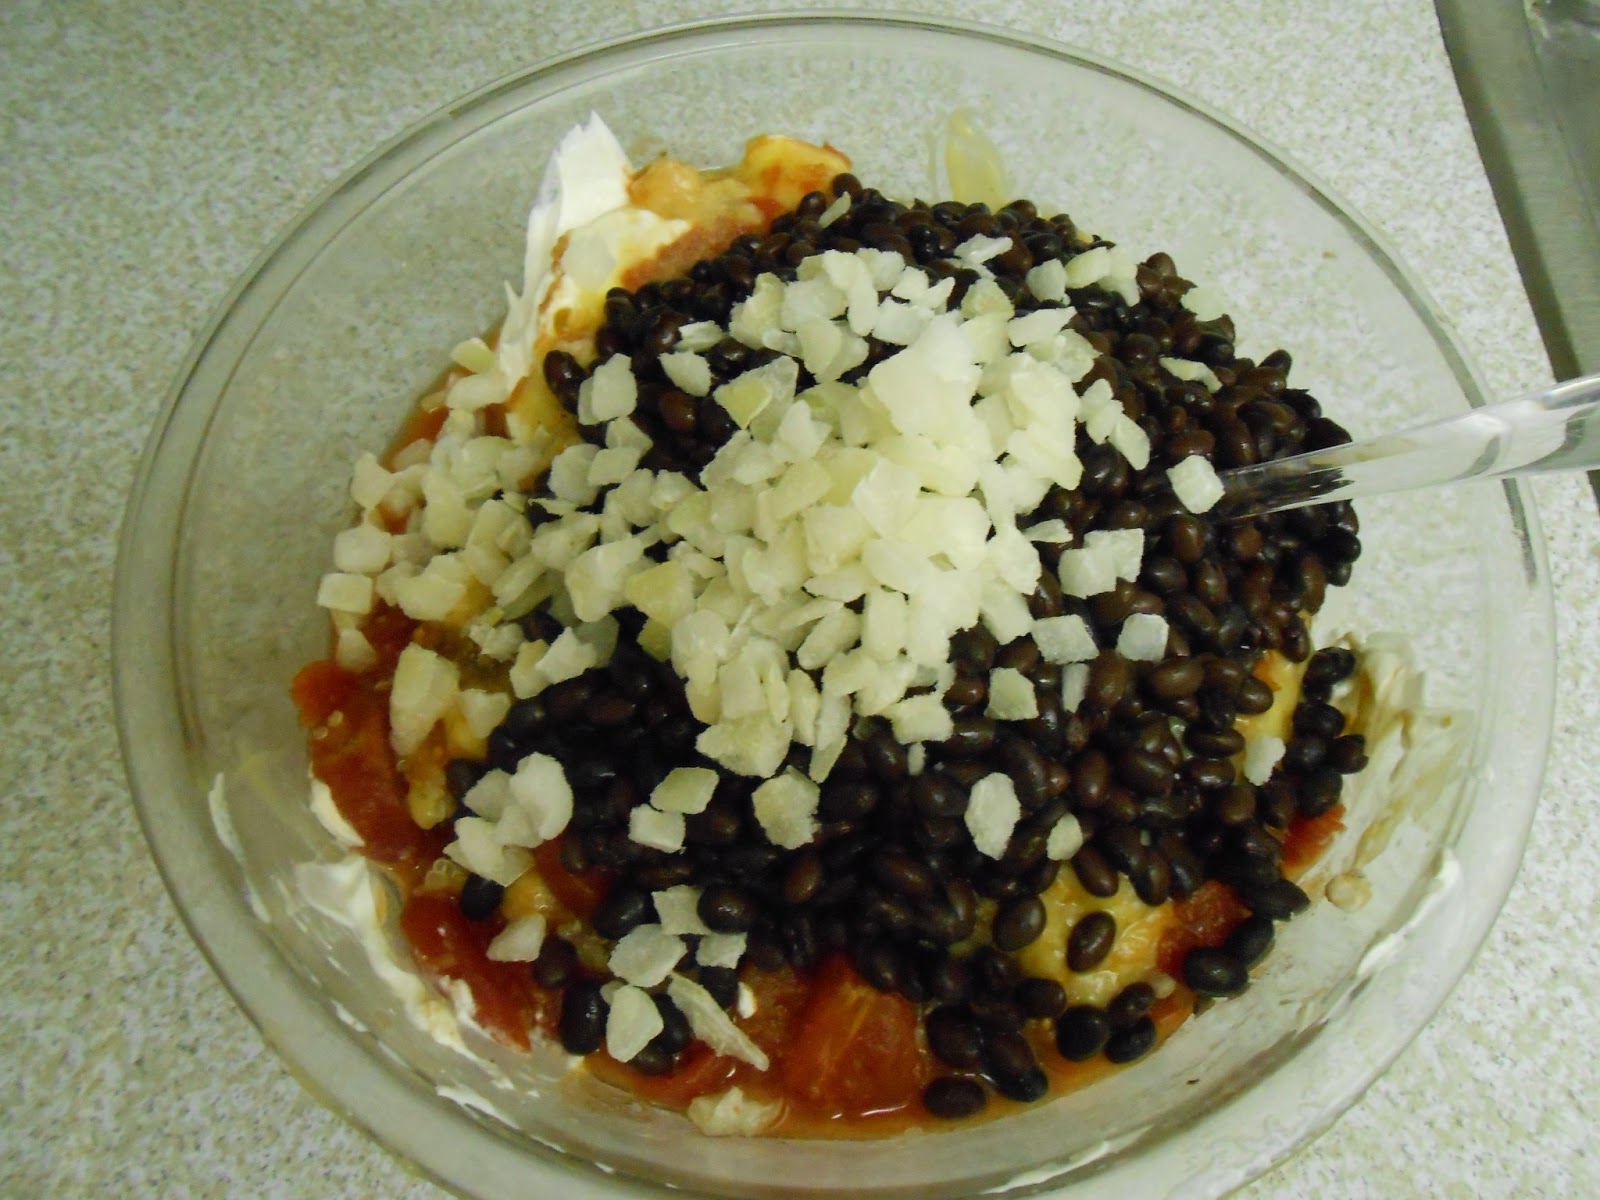
In a large bowl, combine the cooked quinoa, cream of chicken soup, sour cream, Ro-tel tomatoes, onion, black beans, seasonings & half of the cheese.  The original recipe called for instant rice, hence the need for the liquid (chicken broth) to cook it.  Since the quinoa has already been cooked, I omitted it.


Mix all of the ingredients together and pour into a greased baking dish.


Cover with a layer of cheese.


Bake at 350°.  The recipe says 30 minutes, but that was to account for cooking the Instant rice.  It just needs to cook long enough to get hot and bubbly.


Yummy!  This recipe makes a lot for one person (I was eating it for almost 2 weeks for lunch!), but it should freeze well.


Here is the recipe as I made it, but it leaves a lot of room for interpretation.  Try adding veggies like corn, and of course you can use chicken if you and your family prefer that.

Please comment and let me know what you think.  And don't forget to share this posts with your friends!

Grace and love,
Jenn


Thursday, April 4, 2013

Kitchen Traditions - Peggy's Macaroni Salad

This is the most loved dish in my Husband’s family; it is present at every holiday and family gathering.  When we got married, Hubby told his mother that he wasn't coming if she didn't make macaroni salad for the reception. When my husband and I moved away from home so he could finish his degree, I simply had to get this recipe from my mother in law.  I'd helped her make it several times (When you cook for large family gatherings, sometimes it takes extra hands - and this can get kind of messy when you do it yourself) and of course, like most cherished family recipes, this one was never written down. The first time I made this, the family was skeptical that I could pull it off… but of course it turned out perfect.  And this year for Easter, I took over the helm and made the macaroni salad, with roaring success and compliments from the family.


My Mother in Law and Best Friend, Peggy

This recipe is for what I would consider a double batch, believe it or not, it is not even the full recipe we used to make for family gatherings when I first learned the recipe.


This is one recipe that I don’t recommend omitting or changing ingredients; the flavors meld perfectly. Even people in our family who don’t care for celery don’t mind it in this recipe, same with the green pepper. We prefer shell macaroni, all the yummy goodness fills the shells, it just doesn’t seem the same with different macaroni, you definitely need miracle whip here not mayonnaise. 


 Boil your macaroni in heavily salted water (taste your water as it warms,  you need to be able to taste the salt) Boil it until soft, you don’t want any “bite” in the macaroni as undercooked macaroni will absorb more dressing and make the salad too dry (although, we do have a step to remedy that). While the macaroni is cooking, chop your onion, celery and green pepper and dice your hard boiled eggs.  If you don’t have an egg slicer, I highly recommend one.  As a lover of egg salad, and of course this dish, I find it irreplaceable, I also use it to slice strawberries and mushrooms. Another tip, slice the egg one way then turn it 90 degrees and slice the other way to get a diced egg.  Way back when, we use to hand chop the onion, celery and green pepper, then Peggy decided to start using a food processor, it saves so much time, especially when making a triple or quadruple batch, which is what she typically makes. When she first did it, I thought it would have awful results on the end product, but it didn’t make much, if any difference that I can recall; we’ve been doing it this way for so long now that I honestly don’t remember. LOL.


 You will need a very large bowl, pan or bucket depending on the amount you are making… yes, we have made this in a 5 gallon bucket before! Put your veggies in your bowl of choice.  Drain your macaroni and rinse with cool water. Put the macaroni, diced veggies and diced hardboiled eggs in the bowl of choice. Take a minute and salt your eggs. Mix them together.


Add the miracle whip.  For the double batch you are going to want one full jar to start with, for a half batch start with ½ a jar and add more if you think it’s needed. Mix it in. You are definitely going to need to use your hands for this. (I highly recommend removing rings and bracelets first).


Mix well, taste, add more salt to taste, mix again, cover and refrigerate overnight. The next morning, taste again, you will more than likely need to add more Miracle Whip, this is a real moist salad. In my 20+ years of helping Peggy make this salad, and making it on my own, I've only ever seen one time when we didn't have to add more Miracle Whip the next day. In this case I added another half of a jar of Miracle whip. (Total used was 1 1/2 30 oz jars) Taste it again and add more salt if needed.


I hope you enjoy this recipe... Please be sure to comment and let me know what you think and/or if you try it!

Love and God's peace to you,
Christine